This content is a work in progress. If you’re interested in contributing to the Summit Events App and want to help provide support by reviewing or adding to this page, comment below and let us know!
This page will capture items you’ll want to capture as part of your event before you start building and moving to Creating a Basic Event.
Configuration Before Creating Your First Event
After you install Summit Events in your org there are some setup steps that you need do before you start using it:
Make sure you do the steps listed in the Post Installation Section of Installing the Summit Events App.
Edit and Create Picklist Values
We deliver sample values for the picklist fields, but you will want to edit these fields to create your own values and deactivate some or all of our sample values. You can do this following the instructions here that show how to edit and create picklist values.
Review and Personalize Picklists
Here are the picklist fields that need to be reviewed and personalized for your organization:
Summit Events object
- Event Type
- Audience
- Event Sponsor
- Location Type
- Building
Summit Events Instance object
- Category
- Location Type Override
- Building Override
Summit Events Appointment object
- Building
Summit Events Appointment Type object
- Appointment Category
- Appointment Type
- Auto Add Building
Summit Events Registration object
- Applicant Type
- Presentation Location
- Campus Tour Location
- Registrant Gender
- Registrant Pronouns
- Relationship to Institution
- Registrant Program Interest
- Participation Type
Other Customizations You Can Make:
- We include all fields for an object on the page layout so you know everything that is included. You likely will not use all of these fields, so you should customize the page layouts so your users only see the fields you will be using.
How to create and edit page layouts
Add the Summit Events Registrant” related list to the Contact page layout so your users can easily see the events that your contacts have registered for.
Configure the fields that display in the “Default” Search Layouts for each of the Summit Events objects by following these instructions on How to configure Search Layouts. Configuring the default search layouts also helps you see more details on records in the ‘Recently Viewed’ list view for each object.
- If you need to change the display name of a field to better match your your organization works you can do that by following these instructions How to change field label for managed package fields
- Example: The “Ask Applicant Type” field on Summit Events object could be renamed to “Ask Registrant Type” and the “Applicant Type” field on the Summit Events Registration object could be renamed to the “Registrant Type” field if your organization doesn’t have applications but you want to use this field to categorize people registering for events.
- Add Record Types and custom page layouts on objects such as “Summit Events Host” and Summit Events to provide custom page layouts and picklist values to users based on their departments or roles in the organization
- Example - add custom Record Types of “Admissions” and “Advancement” on the Summit Events object so each area sees fields and picklist values that are relevant to their department instead of showing them all fields and field values.
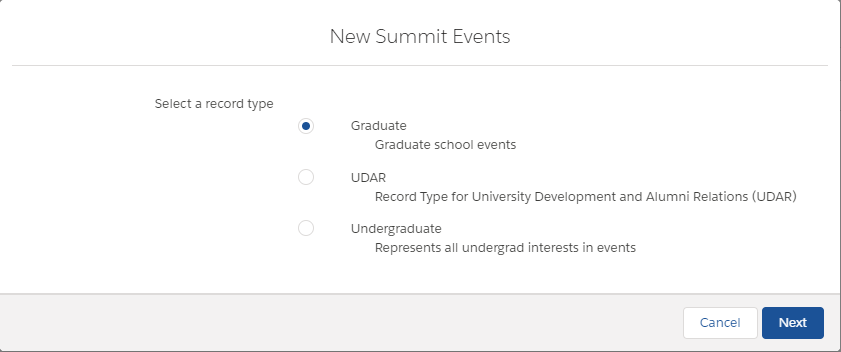
Optional: If you will only be using one record type, you can skip the step of selecting the record type each time by using these instructions to set a default record type.
Add the Summit Events calendar to your website using these instructions Add Event Calendar to Your Web Page
If you want event Registrants to be matched with Contacts in Salesforce please use these instructions to setup this functionality Contact Matching
Future
Add your custom parking pass for use with the “UG Parking Pass Link” on the the Summit Events Registration object
Template - customize the “General SLDS” template or create a custom template